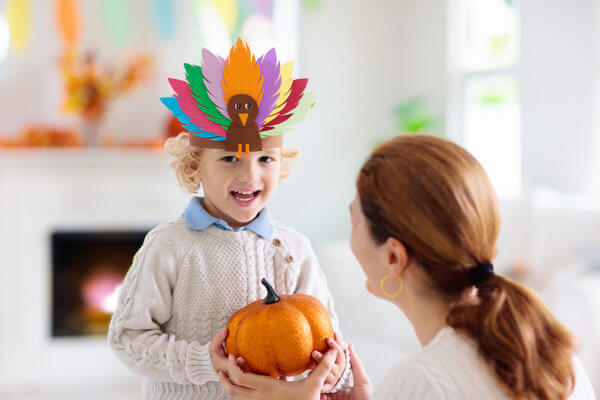
Fall is one of the best times to make adorable (and scary!) crafts with your toddler. So head to a supply store (we love Michael’s) and get supplies to make these awesome Halloween crafts.

PAPER PUMPKIN
What you’ll need:
Paper lunch bag
Child safe paint: Orange and Green
Child friendly paintbrush
Black marker
Twig (think short/stubby)
Green pipe cleaner or green fabric tape
Scissors
Old Newspapers or magazines
What to do:
1. First set down some old newspapers to cover the work area to keep messes at a minimum
2. Let your child paint the outside of the bag orange, once it dries have them paint the other side.
3. Let dry, then ask your child if they would like to draw a face on the pumpkin or leave it blank.
4. Fold the top of the paper bag down over the dried orange and let your child paint it green (this will create the leaves of the pumpkin.)
5. Once the green paint dries tear the folded over paper, leaving enough paper so that it remains attached to the bag.
6. Open the bag up.
7. Take the old newspapers/magazines, let your toddler ball up the paper and place it into the bag until the bag is half full leaving enough space to close the bag.
8. Have your tot place a twig in the top of the bag and help them twist it closed. You can let them hold the bag as you seal it with a green pipe cleaner or fabric tape.
9. Help your child carefully pull the green part of the bag down so that it looks like leaves.
NEXT: HALLOWEEN GARLAND
{pagebreak}

HALLOWEEN GARLAND
Black cats, angry bats, ghoulish ghosts, pretty pumpkins, candy corn and more will come together to make one stylish garland for you and your tot.
What you’ll need:
Child safe Scissors
Construction paper or felt (orange, black, white, yellow, purple depending on your design choice)
Child safe Glue
Googly eyes (optional)
Marker (optional)
Clipart (find online or make your own templates)
Hole Punch
Pencil
String
Tape
What to do:
1. Cut out the shape of your choice using an online template or a template you and your child drew (remember this doesn’t have to be perfect) and trace onto either construction paper or felt.
2. If your child is old enough, have them cut out the pattern using safety scissors. Otherwise let them direct you in cutting.
3. Continue cutting patterns until you both are satisfied (or as long as your child is interested in sitting.)
4. You can punch holes in each cut out as directed by your child.
5. Use markers (which is perfect for younger children) or googly eyes (which should be done by an adult) to add to the patterns if desired.
6. Take string, cut to the desired length, and let your child slide the patterns on to the string. You can use tape to secure in back.
Hang up your garland and enjoy!
Two great crafts to jump into Fall with!


